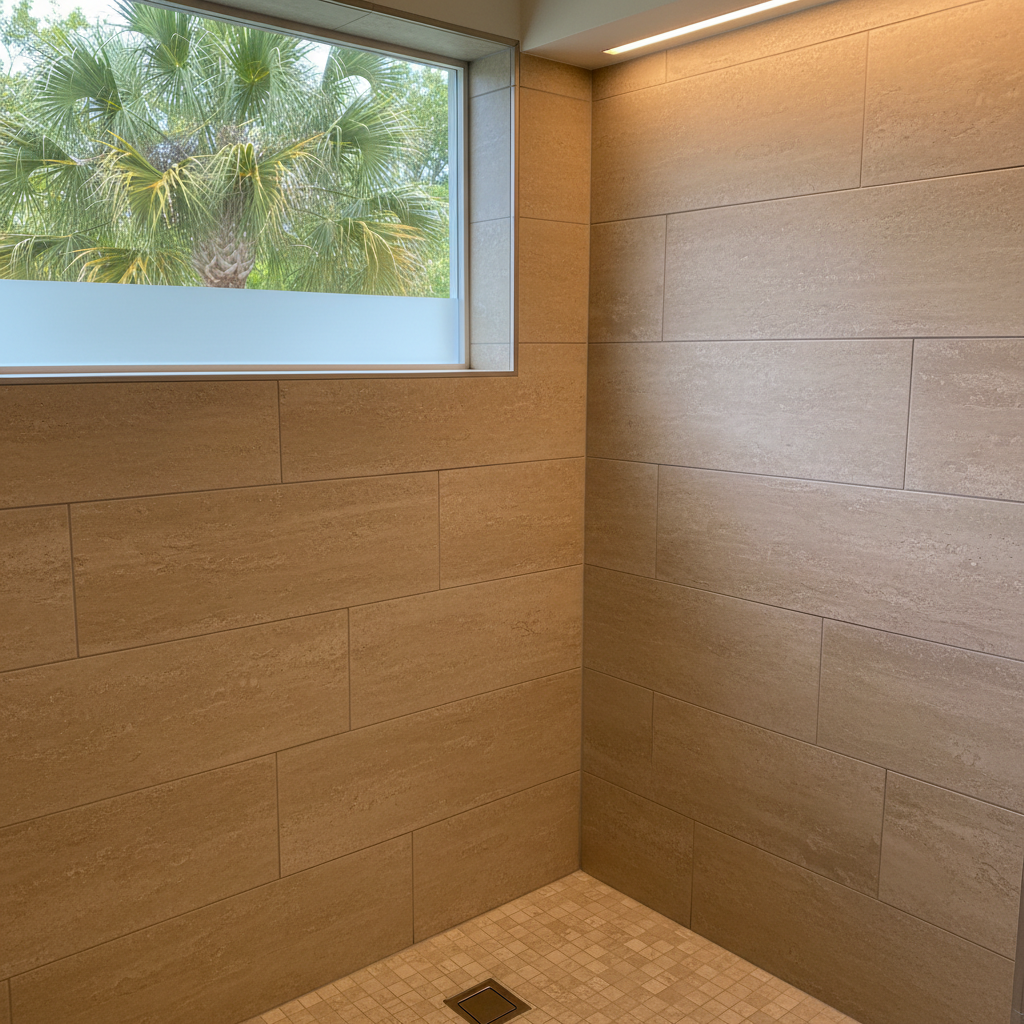
Old showers take a beating down here near the Gulf. Between the relentless humidity in neighborhoods from St. Andrews to the beach and our sandy soil shifting older foundations, shower leaks can turn into a rotten mess behind your drywall. When homeowners look at their stained grout or cracked fiberglass pan and wonder what it takes to swap it out, Panama City Bathroom Solutions can break down how Shower Remodeling actually works.
Before You Demo Your Old Shower
Homeowners need a plan long before they rip out the first piece of tile. Start by turning off your main water valve, because finding out a shut-off valve is rusted open while water sprays across a bathroom floor is a bad way to start a weekend. Measure your rough-in dimensions twice. If you live in an older home over on 15th Street, nothing is ever standard size. Check your subfloor for soft spots, too. Humidity loves to trap moisture in wooden subfloors, and you do not want to install a brand-new shower base over rotted wood.
DIY vs. Hiring a Pro for Shower Remodeling
Can you demo your old shower yourself? Absolutely. Grab a pair of safety glasses, a heavy hammer, and a pry bar, and start hauling out the old surround. You will save yourself some money in labor right there. You can also handle minor cleanup, painting the walls afterward, and installing your new bathroom hardware if you are handy with basic tools.
However, once you get past the demo phase, things get tricky. Waterproofing is not the place to learn on the job. If you miss a seam or install a cheap liner wrong, moisture gets into your framing, and mold follows right behind it. Moving supply lines or shifting a drain in a concrete slab foundation requires specialized concrete saws and plumbing expertise. That is the exact moment you call a local crew like Panama City Bathroom Solutions to step in and make sure your plumbing meets code.
During the Build
Expect dust. No matter how many plastic sheets we tape up, construction dust finds its way into every corner of the house. Keep your bathroom exhaust fan running if it still works, or set up a box fan pointing out the window to push the humidity and dust outside. If you are doing the work yourself, give your waterproofing membrane plenty of time to cure before slapping up cement backer board or tile. Rushing this step is the number one reason DIY showers fail within three years.
After the Installation
Once everything looks shiny and new, do not use the shower right away. Silicone caulk and grout sealers need 24 to 48 hours or longer to fully cure, especially in our damp coastal air. Once you are finally cleared to use it, keep up with the ventilation. Run that exhaust fan during every shower and for twenty minutes after you step out. Wipe down glass doors with a squeegee to keep hard water stains at bay, and reseal your grout lines every couple of years. For homes and businesses in Panama City, Panama City Bathroom Solutions provides Shower Remodeling services.